 I’m all for making things yourself (especially real food!), but for some reason I resisted the homemade almond milk craze for a while. I didn’t resist it because I had anything against it, it just took me longer to get all the relevant equipment and get down to business. But I finally got it together and was blown away by how simple and delicious it is to make your own almond milk. So, please learn from my mistake and don’t waste another minute buying packaged almond milk when it is so easy and fun (yes, fun!) to make your own.
It all starts with the right equipment. You need a blender or food processor, nut milk bag (more on that later!), a funnel, and a nice glass jar to store your fresh milk. Honestly I had all of these except the nut milk bag. After some research on my part, and lots of giggling from my husband, I finally ordered a nut milk bag from Amazon. It is essentially very fine cheesecloth that is sewn together into a bag shape to expedite the squeezing process. This is the one I ended up with, but there are lots of good options available.
Ok, now that you’ve got your bag we’re ready to get down to business.
Homemade Almond Milk Ingredients:
1 cup plain almonds
3 cups of water
dash of vanilla extract
dash of high-quality sea salt
Directions:
Cover almonds fully with water and let them soak in a bowl for approximately 12 hours. This draws out their natural phytic acid and leaves you with healthier and more digestible nuts.
Rinse the almonds and combine with 3 cups of fresh water, salt, and vanilla in your blender or food processor. Blend well.
Pour the blended almonds into your nut milk bag. Make sure the bag is over another large bowl or container to catch all the milk! Most of the liquid will pour out of the bag quickly, but you’ll need to do some squeezing to get all the last drops of almondy goodness.
Use your funnel to pour the fresh milk into your glass jar, and voila, beautiful, fresh, preservative-free almond milk!
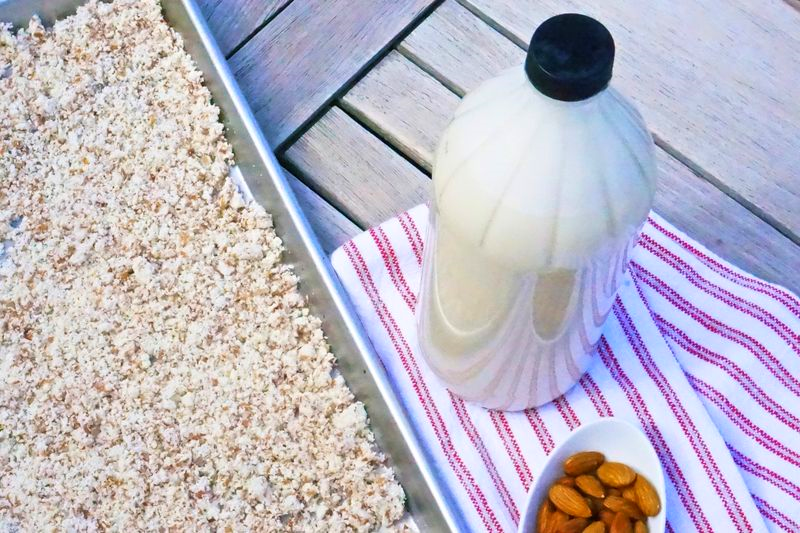
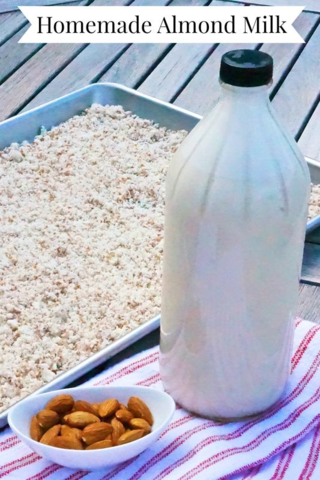
You will end up with a bag full of almond pulp (pictured here spread out on the cookie sheet). Stay tuned for a killer recipe that transforms the almond pulp into delicious granola!
 Here are a few things to keep in mind about your homemade almond milk –
1. Because this milk doesn’t have the emulsifiers found in packaged almond milk, it will naturally separate when left in the fridge. Take a moment to give your milk a quick shake before serving.
2. Homemade almond milk should be stored in the fridge and will stay good for at least a week. If it starts to smell funky toss it and make a new batch.
3. This milk doesn’t have any thickeners in it either, so you may notice that it has a lighter consistency. I actually like the homemade consistency better.
4. Feel free to go crazy with other flavor combinations. Blend in some cacao powder, fresh berries, dates, cinnamon etc. to get some fun flavors.
5. Speaking of blended flavors, this almond milk is excellent mixed into smoothies (not to mention adding some nice protein!). I also love using it to cook my morning oatmeal, and T, the ultimate coffee connoisseur, now uses it in his daily coffee.
So get to it! And let me know if you have any questions along the way.
Note: In order to support my blogging this post includes an Amazon affiliate link.
Leave a Reply