I first experimented with making my own sauerkraut last year. Let’s just say it didn’t go well. I ended up with mold, a fermented smelling kitchen, and a grumpy husband. I had to really work my wifely magic to get T to agree to let me try krauting again this fall. Luckily he went for it and the kraut was a huge success!

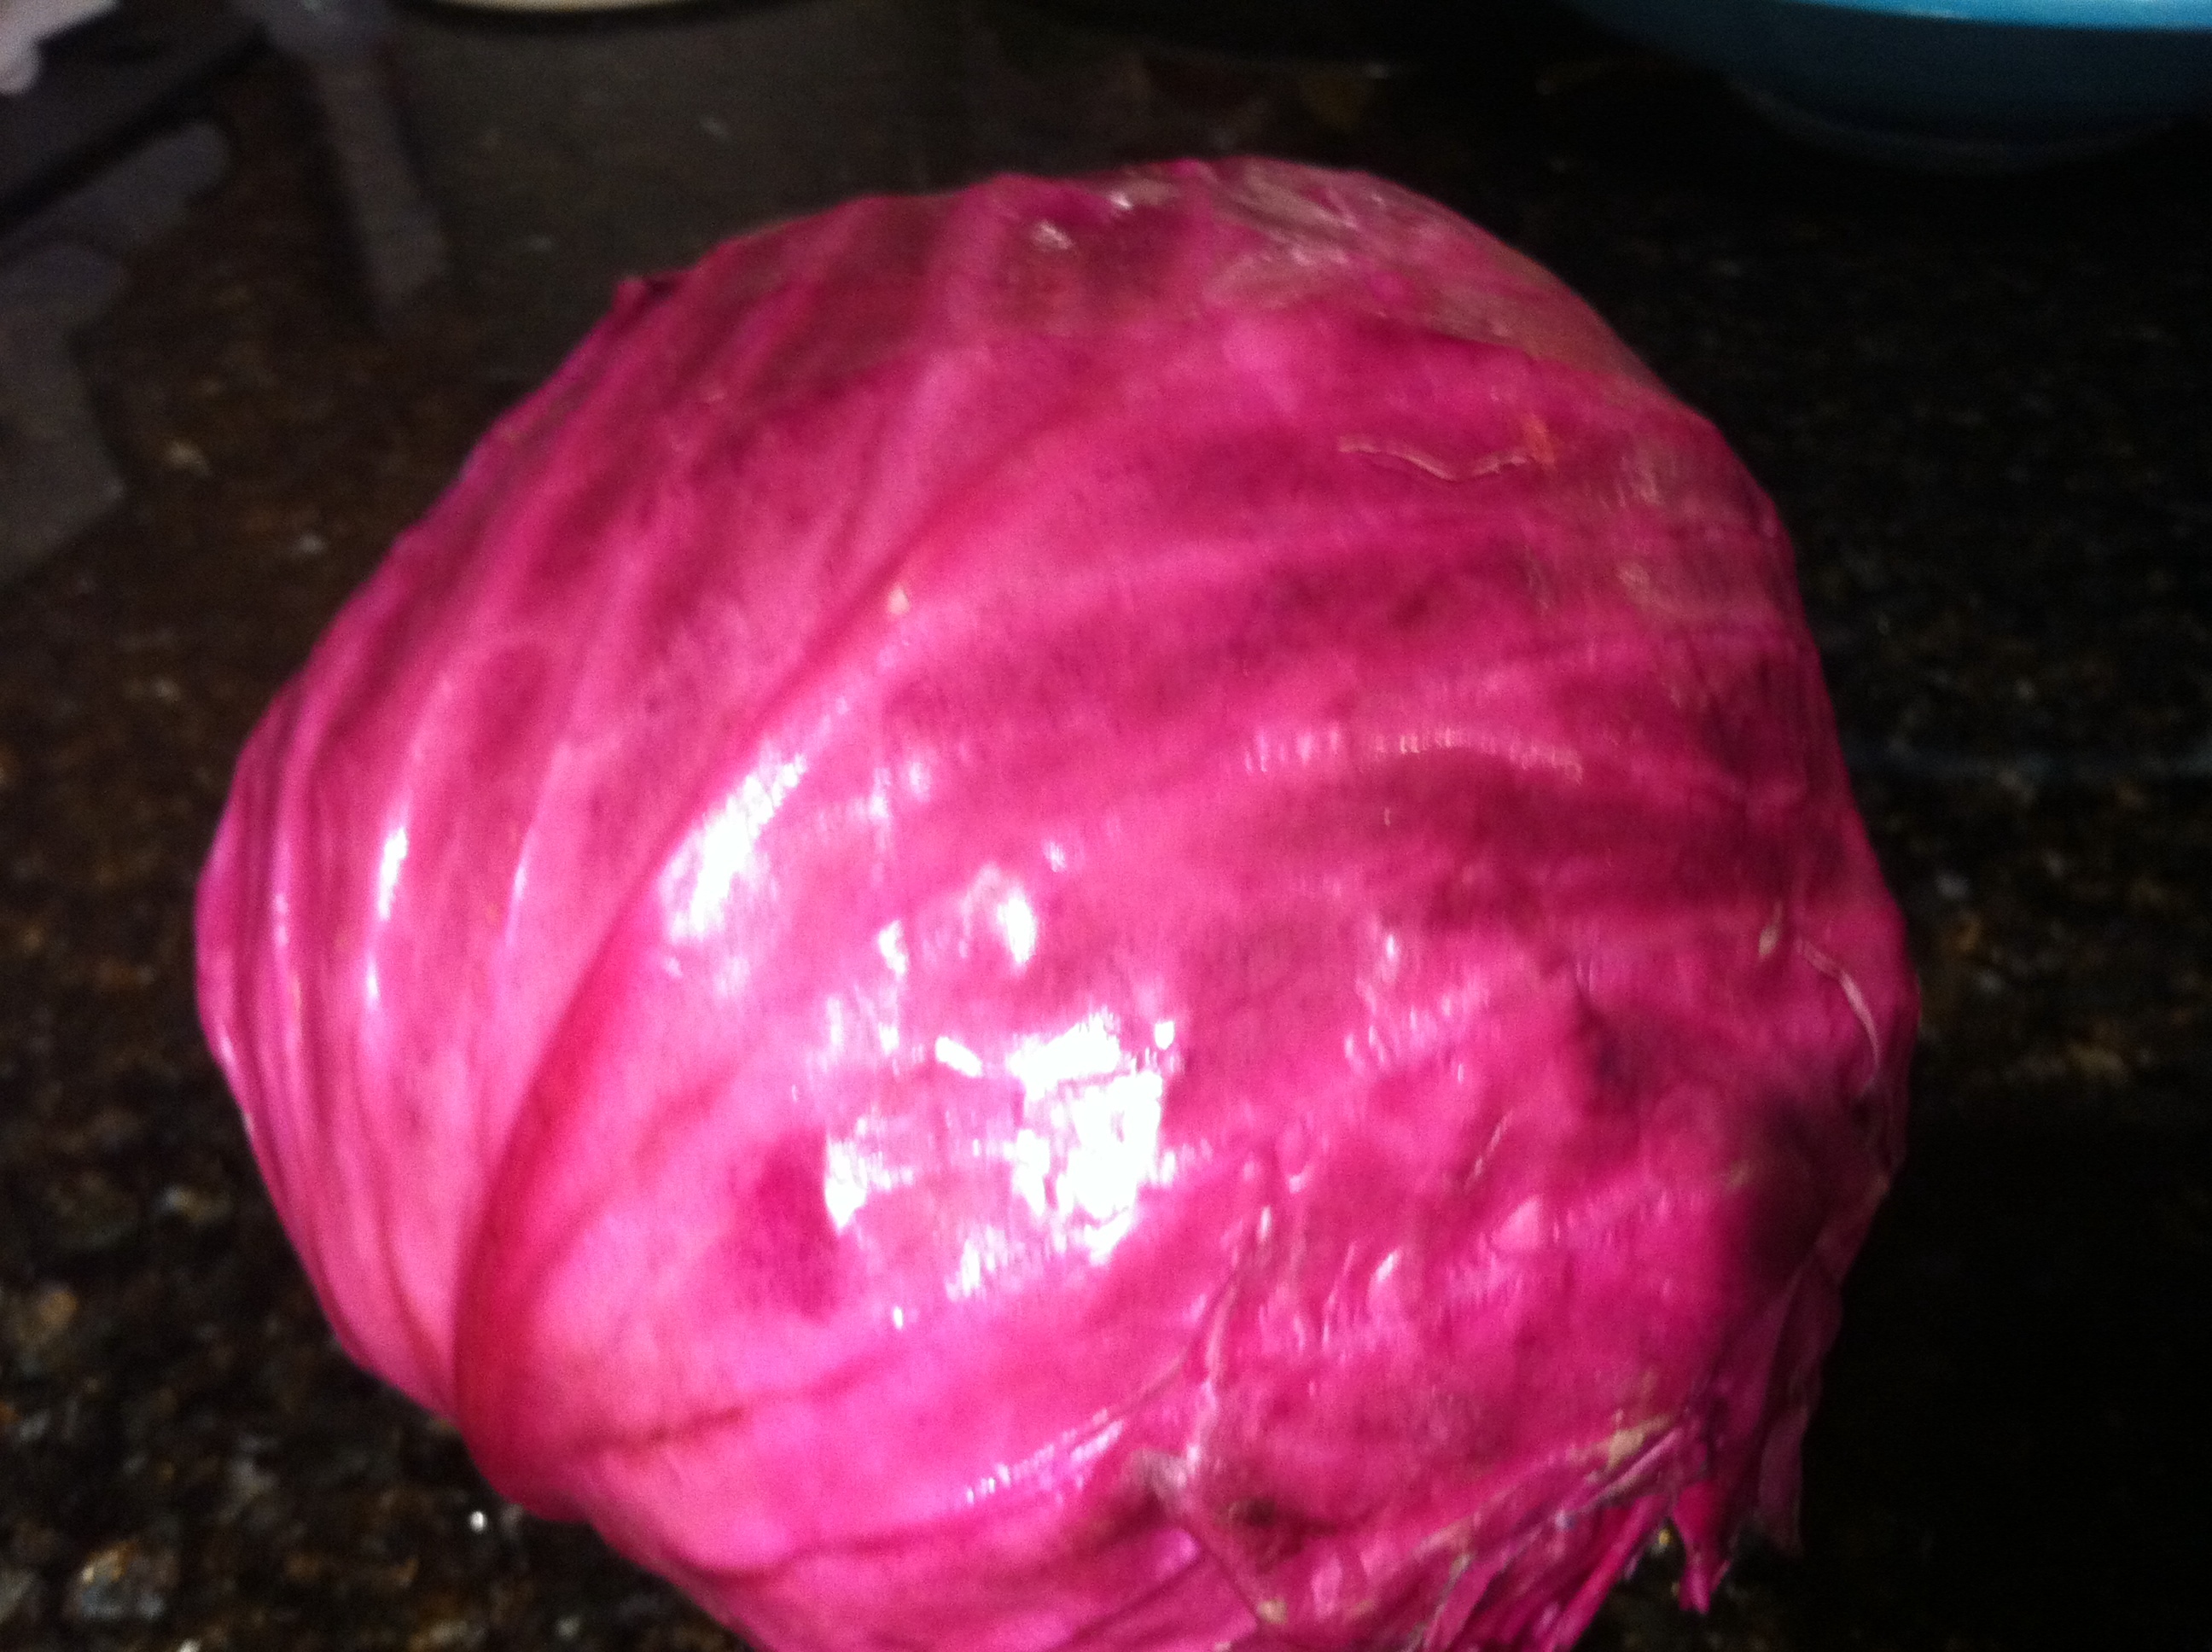
It all started with some beautiful red cabbages from the farmer’s market. I mean seriously – I couldn’t resist giving kraut another try!
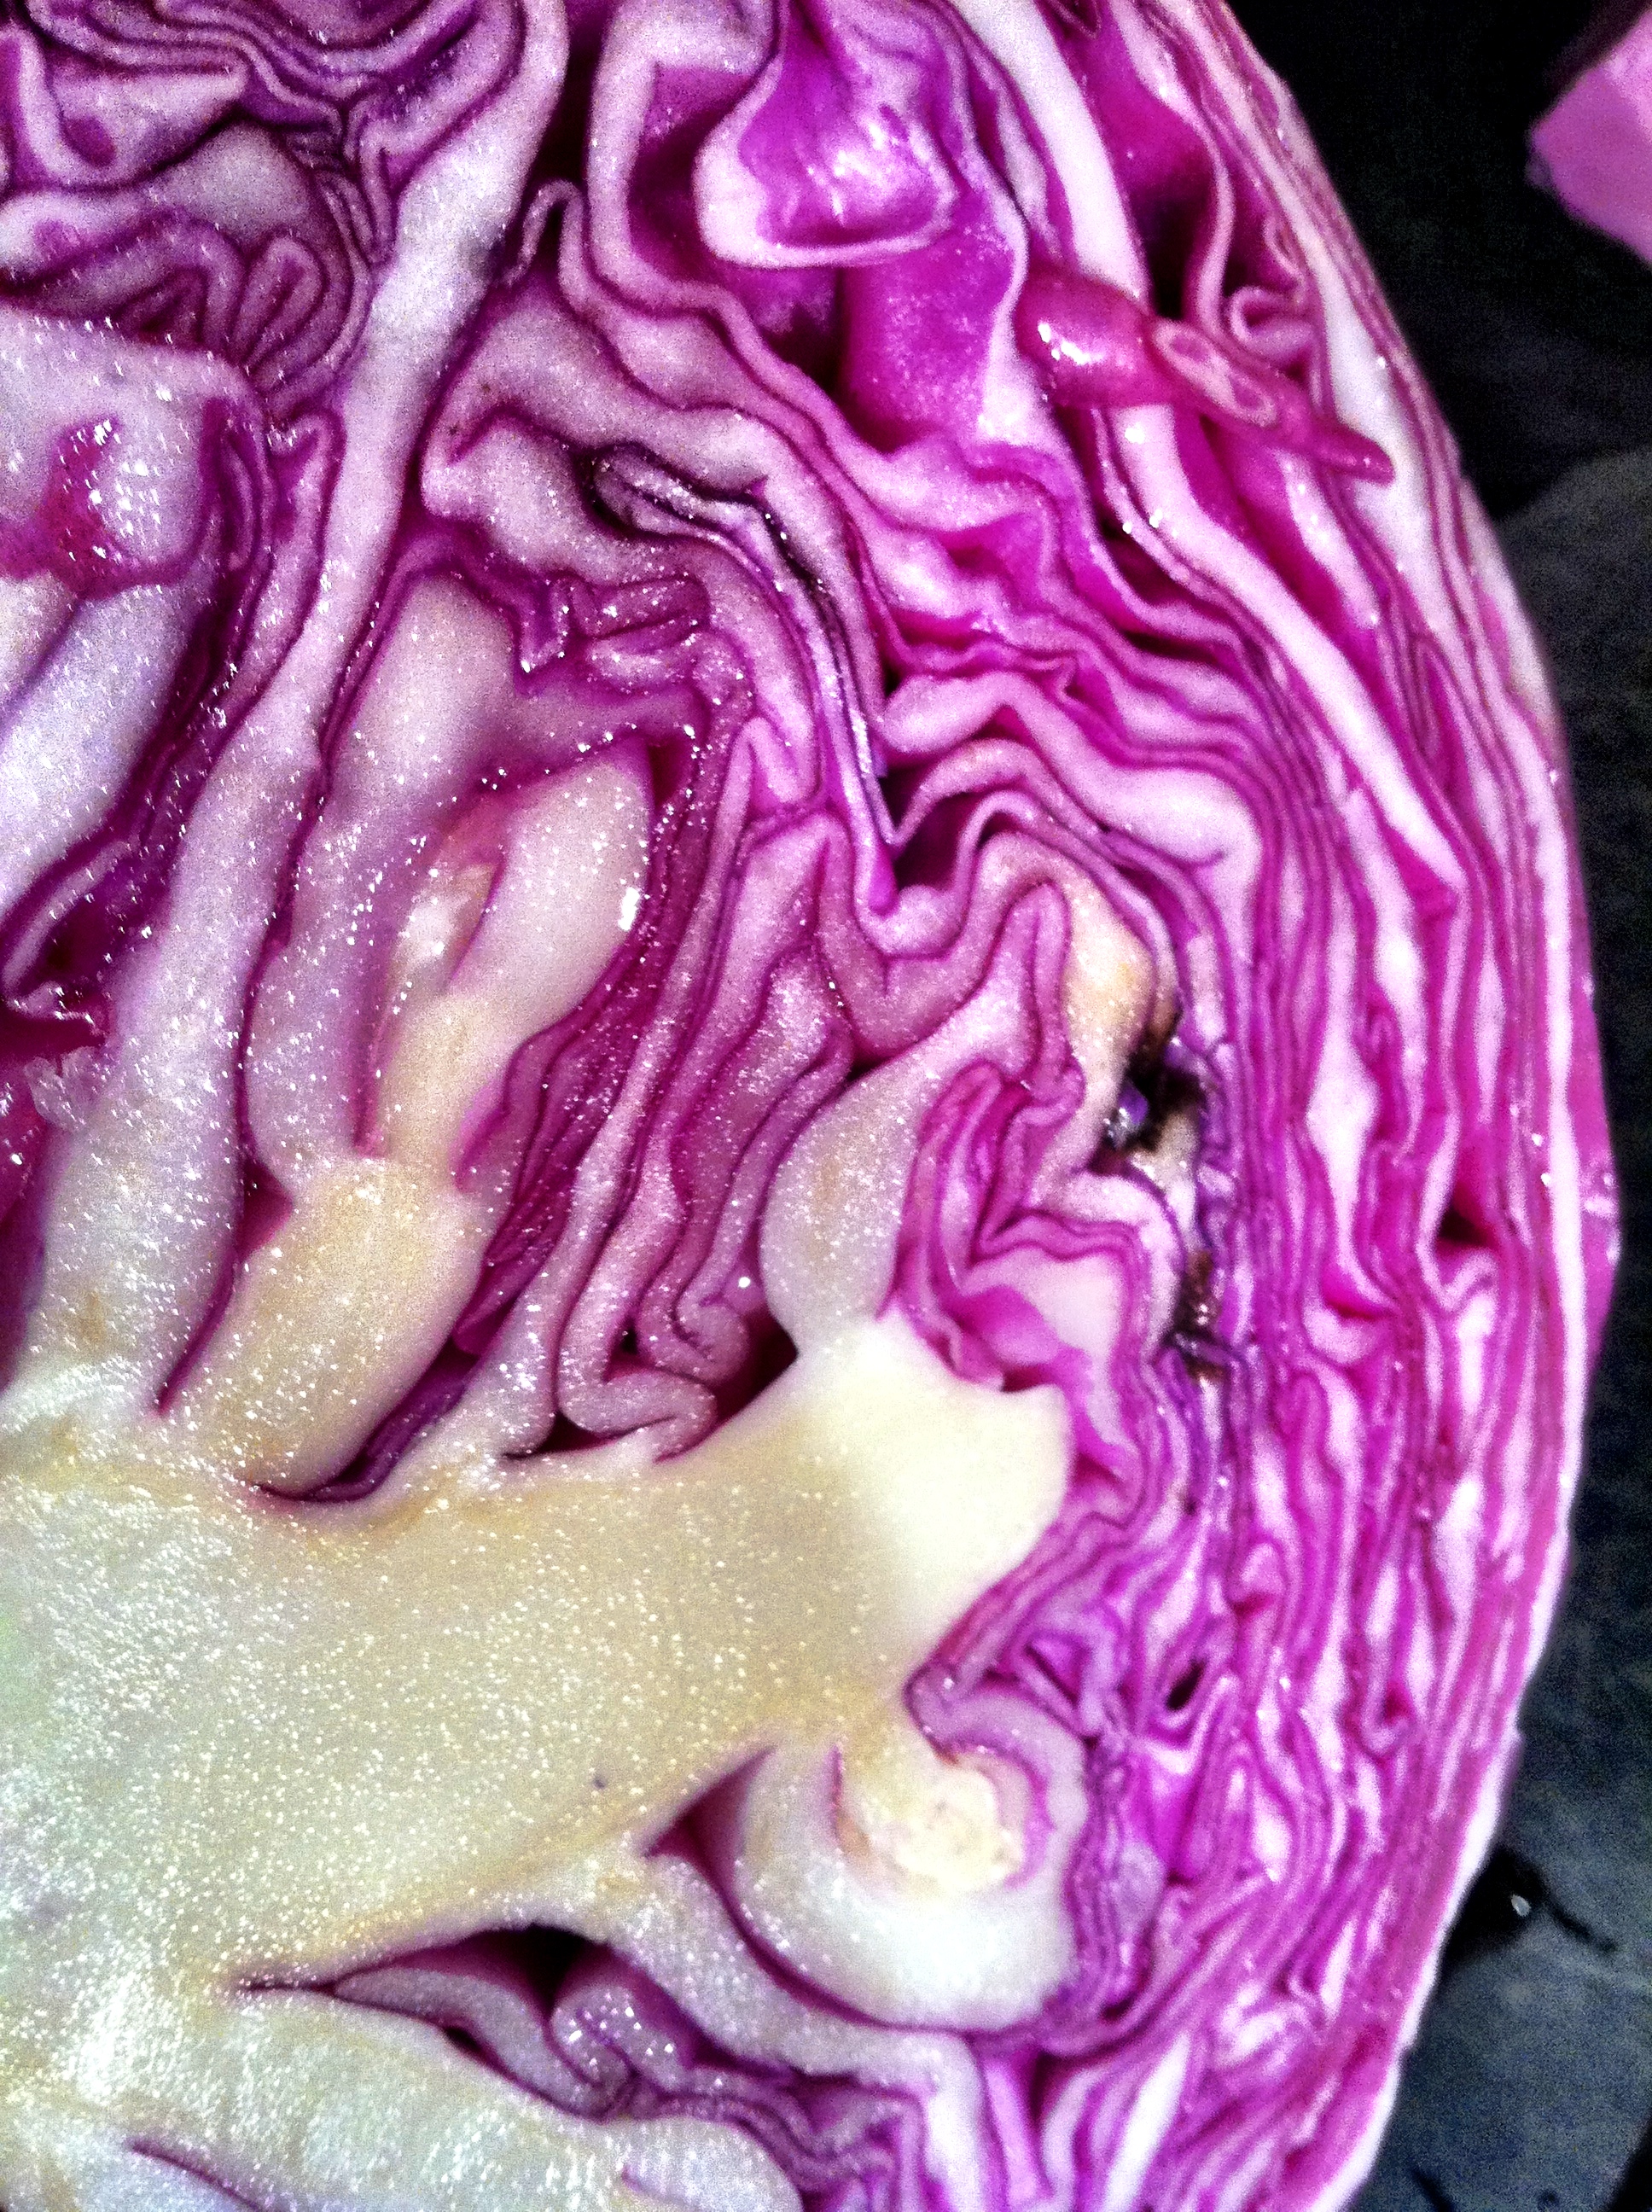
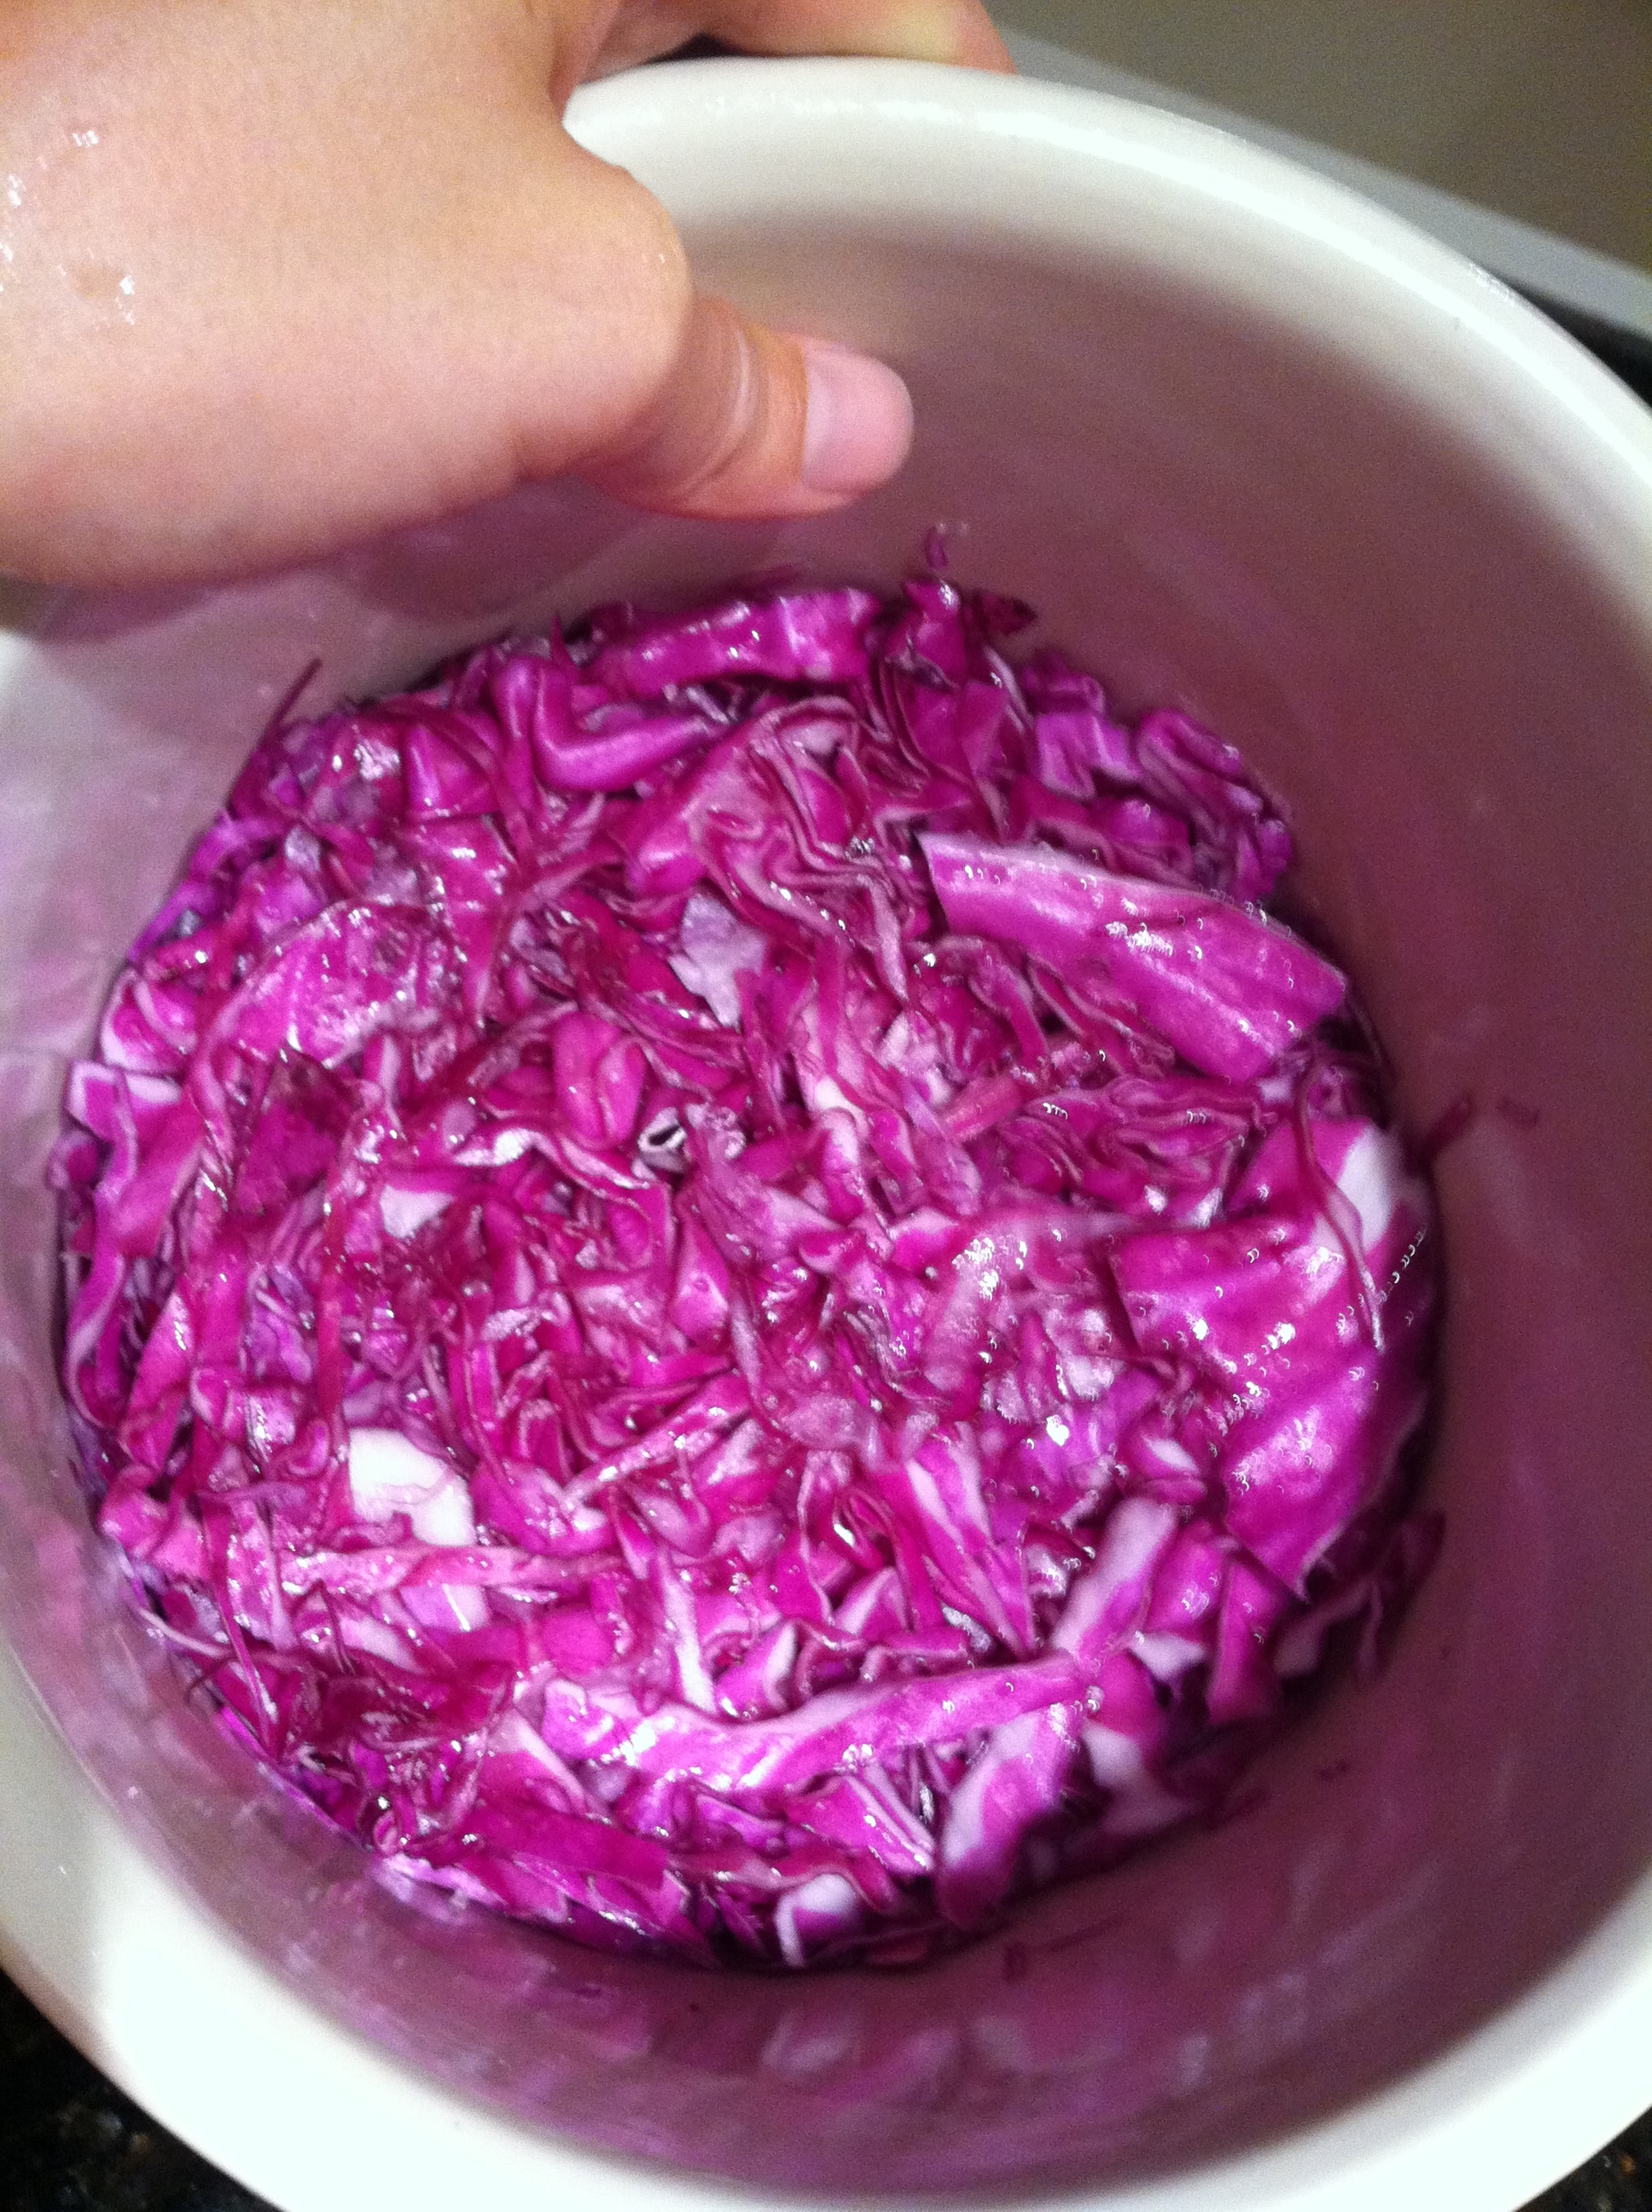
After washing the cabbages and peeling off the outer layers I sliced them thinly on a mandolin. I then packed the slices tightly into my crock and sprinkled sea salt in with every handful of cabbage.
When I made my first batch of unsuccessful kraut last year I didn’t have the right materials. I tried to pack the cabbage into large mason jars and used rocks to hold the cabbage under the brine. The rocks weren’t the right size, might not have been as clean as they should have been, and the jars weren’t ideal. This time around I got the right equipment!
After reading a bit online it seemed that a ceramic crock was essential. I found a great one at Dan & Whit’s – the ultimate country store in Norwich, VT. I was a freak about cleaning the crock before I started my kraut and found just the right size glass jug filled with water to hold the cabbage under the brine. It worked perfectly!
So, my cabbage was tightly packed in the crock (2 full heads), sprinkled with sea salt, and submerged below the brine thanks to my weight. Keeping all of the cabbage under the brine is critical in order to avoid mold. I then covered the whole contraption with a clean dish towel and left it to ferment on my kitchen counter.
I checked the kraut daily and squished it down further and further with the jug of water. As the cabbage starts to ferment you should be able to pack it more tightly and squeeze out more brine (the brine is actually the water from the cabbage being drawn out by the salt). I also tasted it daily. I think one of my mistakes the last time around was waiting too long to taste and missing my window of delicious opportunity. You should be able to taste the kraut evolving from salty cabbage to fermented sauerkraut.
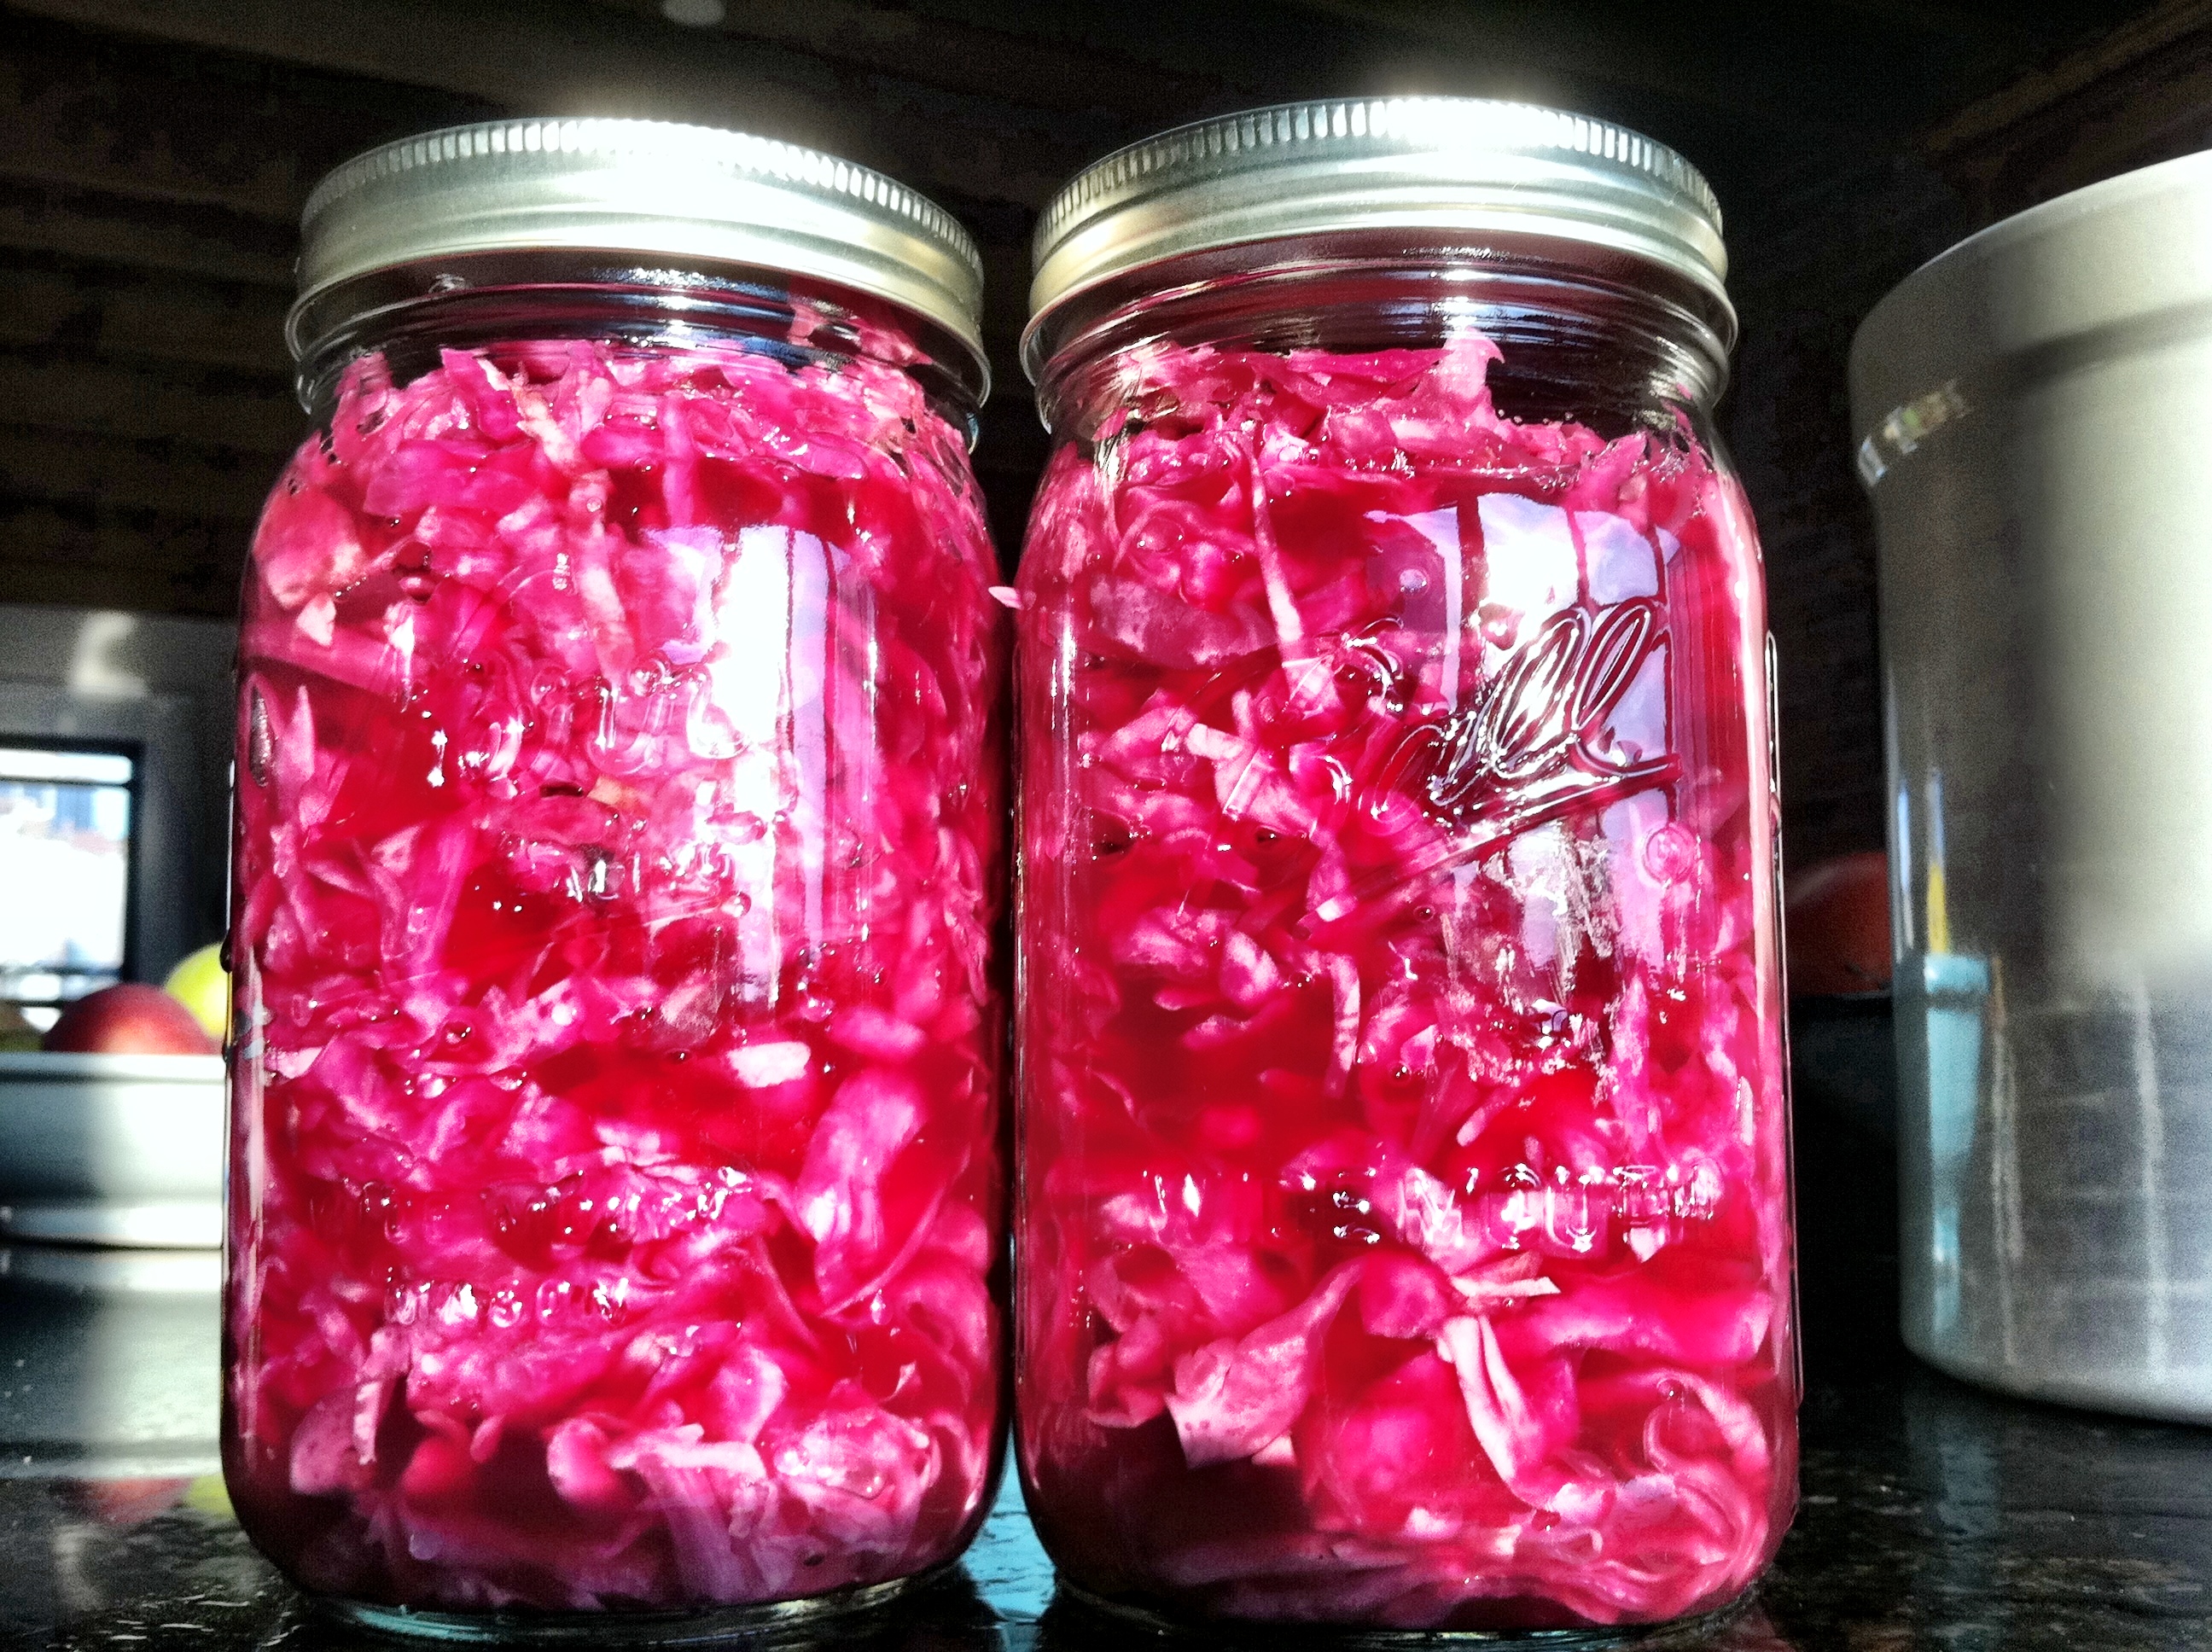
Since it was still quite warm when I made this batch of kraut it fermented quickly (heat speeds up the process). I ended up calling it after a week of fermentation. I repacked the kraut into mason jars to keep in the fridge. Once the kraut is in the fridge it stops noticeably fermenting and can be enjoyed for weeks/months. You can also recycle any remaining brine to get your next batch of kraut started.
One quick note – since I had major scrutiny of this whole process by T, I can assure you there wasn’t any funky smell coming from my crock, bugs buzzing around, or any other crunchy-hippie-make-your-own-sauerkraut stereotypes. I promise!
Besides being very cool and tasting good, fermented foods are really healthy for you. Fermentation creates natural cultures of probiotics, which strengthen and support the digestive system and immune system. Fermentation preserves nutrients in food, breaks nutrients down into more easily digestible forms, and actually creates new nutrients. During the fermentation process microbial cultures create B vitamins, including folic acid, riboflavin, niacin, thiamin, and biotin.
As I have learned more about macrobiotic eating (one of the healthiest diets out there in my opinion) I have gotten excited about fermented foods. They are surprisingly easy to incorporate into your diet and offer tremendous health benefits. Now I can add my homemade sauerkraut to my list of fermented options. I have enjoyed my kraut plain as a snack, tossed into green salads, and mixed into miso soup. Even T likes it!


Zoe: check out The Joy of Pickling by Louise Ziedrich. I tried the sauerkraut there also in jars, also didn’t work. I will try again in a crock. Was yours cylindrical? xo Jan
Yes – mine is a cylinder about 8 inches across and 16 inches high. I really thinking using the right equipment made all the difference!